How to: Root Your Nexus 5 Manually
Final Step to Prep for Custom Nexus 5 Mods
In our last few posts, we looked at how to install CyanogenMod to your Nexus 5, and how start that process by unlocking your bootloader, which is the first step to preparing your phone for installing custom modifications to it.
So, if you decided to take action from our last post to unlock your bootloader, then you are ready to root your Nexus 5.
Custom Mods Await Your Nexus 5
This is the final step in preparing your Nexus 5 to install custom modifications such as a modified Android build like CyanogenMod or Clockwork, or install custom icons, buttons, and other graphics that don’t come with the phone.
Remember that as you unlocked your bootloader that you agreed that doing so would probably void your warranty, but if it didn’t, then rooting your Nexus 5 will definitely void the warranty.
For that reason remember:
This is an informational post only, and any decision you make to root your phone is yours alone – we are not liable for problems or bricked phones that may result from the decision to follow this process.
You can find probably a dozen or so application that you can install to help you root your Nexus 5 automatically, such as this Nexus 5 Multi-Tool, or this Nexus 5 CF Auto-Root.
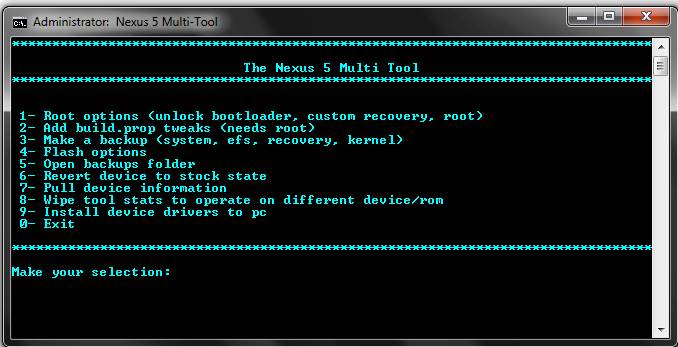
Screenshot of Multitool for Nexus 5 Rooting via XDA Forums
You should definitely use one of these tools if you haven’t setup the Android SDK (or don’t want to, or don’t know how), or if you don’t know how to use adb.
You do right? OK then, let’s get started.
Install Custom Recovery: Download the TWRP recovery from here, and save it to your computer.
After downloading, find the .img file, and move it to the Android SDK folder labeled “platform-tools.” After moving the file, plug your Nexus 5 into the computer.
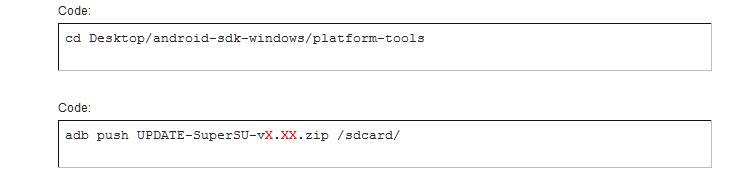
Initiate Commands: After plugging in, navigate again to the Android SDK folder, “platform tools,” and from within that folder open a command prompt (You can use a Windows or Mac computer to do this, but if you are using a Mac, make sure to preface all commands with a ./ ).
Now, once the command prompt is open, type , “adb reboot bootloader” without the quotes, which will prompt a reboot that restarts to the bootloader screen.
Once that opens, type, “fastboot flash recovery openrecovery-twrp-2.6.3.1-hammerhead.img” without the quotes. The “hammerhead.img” filename could change depending on when you download it, and if it does, you’ll need to adjust the command prompt accordingly.
Root Command Code via XDA Forum Section 3
After typing the command, your phone will commence a flash into recovery. When it does, press the “Volume down” button until the “Recovery Mode” is highlighted, and select “recovery mode” by pressing the “Power” button.
If you’ve completed these steps properly, pressing the power should have booted you into the TWRP recovery.
Root: Once in TWRP recovery, tap the “Reboot,” option, and then the “System” option, which should open a prompt so you can root your Nexus 5 and if you’ve done everything right, you should see it asking you to swipe from left to right on a bar.
This will reboot your phone, and when it is finished, it will display a prompt that says:
“ Tap to install SuperSU and root your device.”
Do exactly as it says- tap and continue following instructions, which will have you install the SuperSU via Google Play, and then update.
Reboot and Finish: When it finishes updating, open SuperSU from your app drawer, which may prompt another update to “su” and if it does, follow the instructions to do so, including allowing a reboot if necessary. When this process finishes, your Nexus 5 should be rooted, and ready for you to install any custom modifications you want.
If you have problems after rooting or unlocking the Nexus 5 bootloader, visit this post on the XDA forum for help.
Stay tuned for out next post in which we will cover f the best custom mods we’ve seen for the Nexus 5 to date. Will you root your phone or install custom mods? Why or why not? Let us know below!